Semi Autonomous Robotic Platform: Building a Robot Out of Swappable Parts
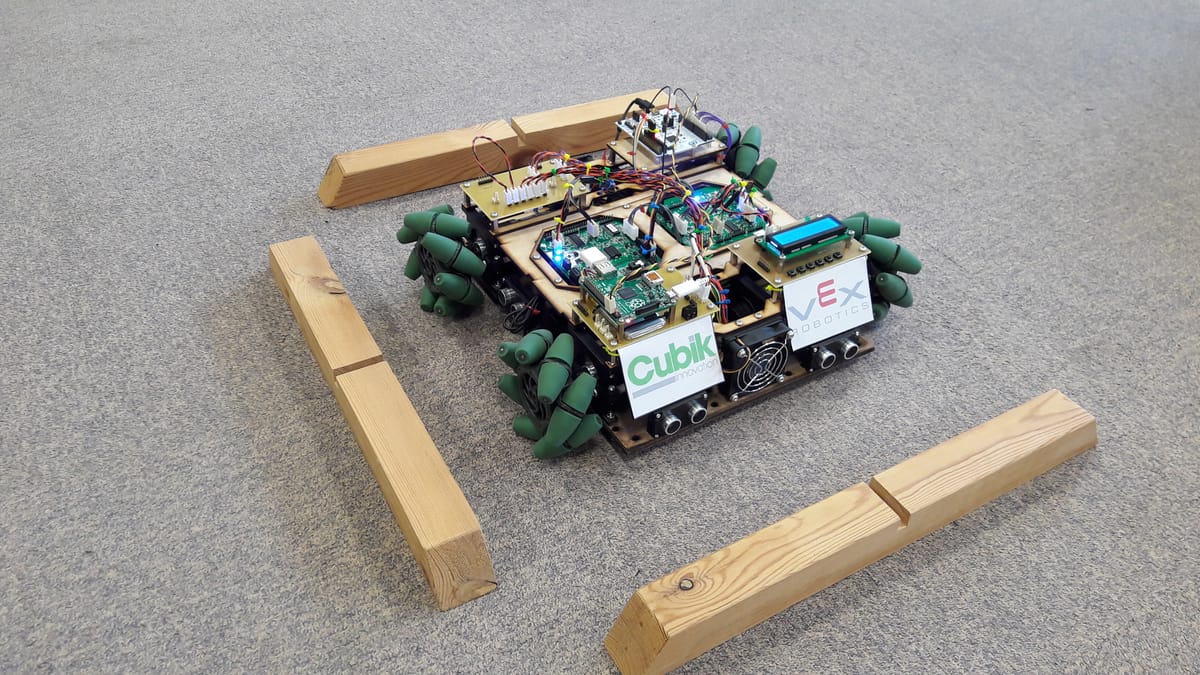
Why a robotic platform?
For my third-year project I wanted something simple in concept that I could finish to a high standard. I chose a robotic platform.
If you're wondering what that is, it's a small buggy or rover that moves around an assigned area doing simple jobs: carrying goods, collecting parcels, or anything else that needs a moving vehicle. Platforms like this are usually autonomous, and the good ones are expensive. Most are built for one application only. Even simple systems with no real control software can cost tens of thousands of pounds, and they aren't easy for the average employee to operate.
That gap, between costly, single-purpose platforms and the people who might actually use them, became the basis of my project.
The problem with off-the-shelf
At the cheaper end you can buy something like the Nexus 4WD mecanum robot. It has an Arduino-based controller and mecanum wheels, and it will set you back around £1,500. That's a fair price for what it is, but you get one fixed design. If you want bigger motors or a better sensor, you're largely stuck.
My platform cost less than £500 to build at the time. All of its control was on board, so it was a complete, self-contained system, and every part of it could be swapped.
The idea: a modular platform
I named the project the Semi Autonomous Robotic Platform. The idea was to build a system out of interchangeable modules (motor controllers, sensors, power systems) that are cheap and easy to swap.
Once you have a working platform, upgrading is a small job. Fit bigger motors, add a better sensor, or build your own module, as long as it follows the standard I wrote as part of the project. You only buy the parts you need, and you never have to start over.
"Semi autonomous" here means the robot is controlled: it is told what to do by a user or a higher-level system, rather than deciding for itself. The platform handles the movement and hardware, and leaves the decisions to whoever is driving it.
Why not just use one controller?
Most robots, especially cheap ones, use a single controller to run everything. For a small, fixed design that makes sense. It falls apart as soon as the system needs to change.
Imagine your DC motors aren't giving you the control you want, so you switch to stepper motors. That means a new motor driver, which means rewriting the software that drives it. Because one controller owns everything, that change can ripple through the whole codebase. Everything has to be re-tested, because the edit might have broken something that looked unrelated. One bad change to something important can set a project back weeks.
The problem gets worse as the robot gets more capable. Add computationally heavy jobs like route planning or SLAM and that single controller is suddenly doing far too much.
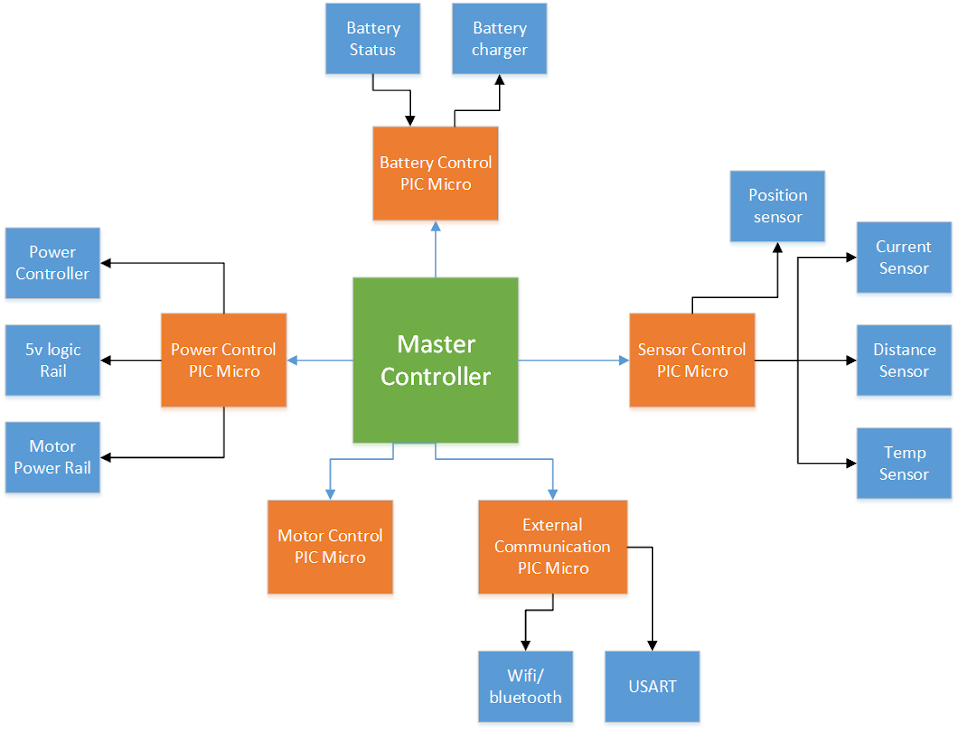
My design splits the work across several dedicated controllers, for example one for motor control and one for power. Each handles the low-level hardware details for its own area. That leaves a master controller free to orchestrate at a higher level.
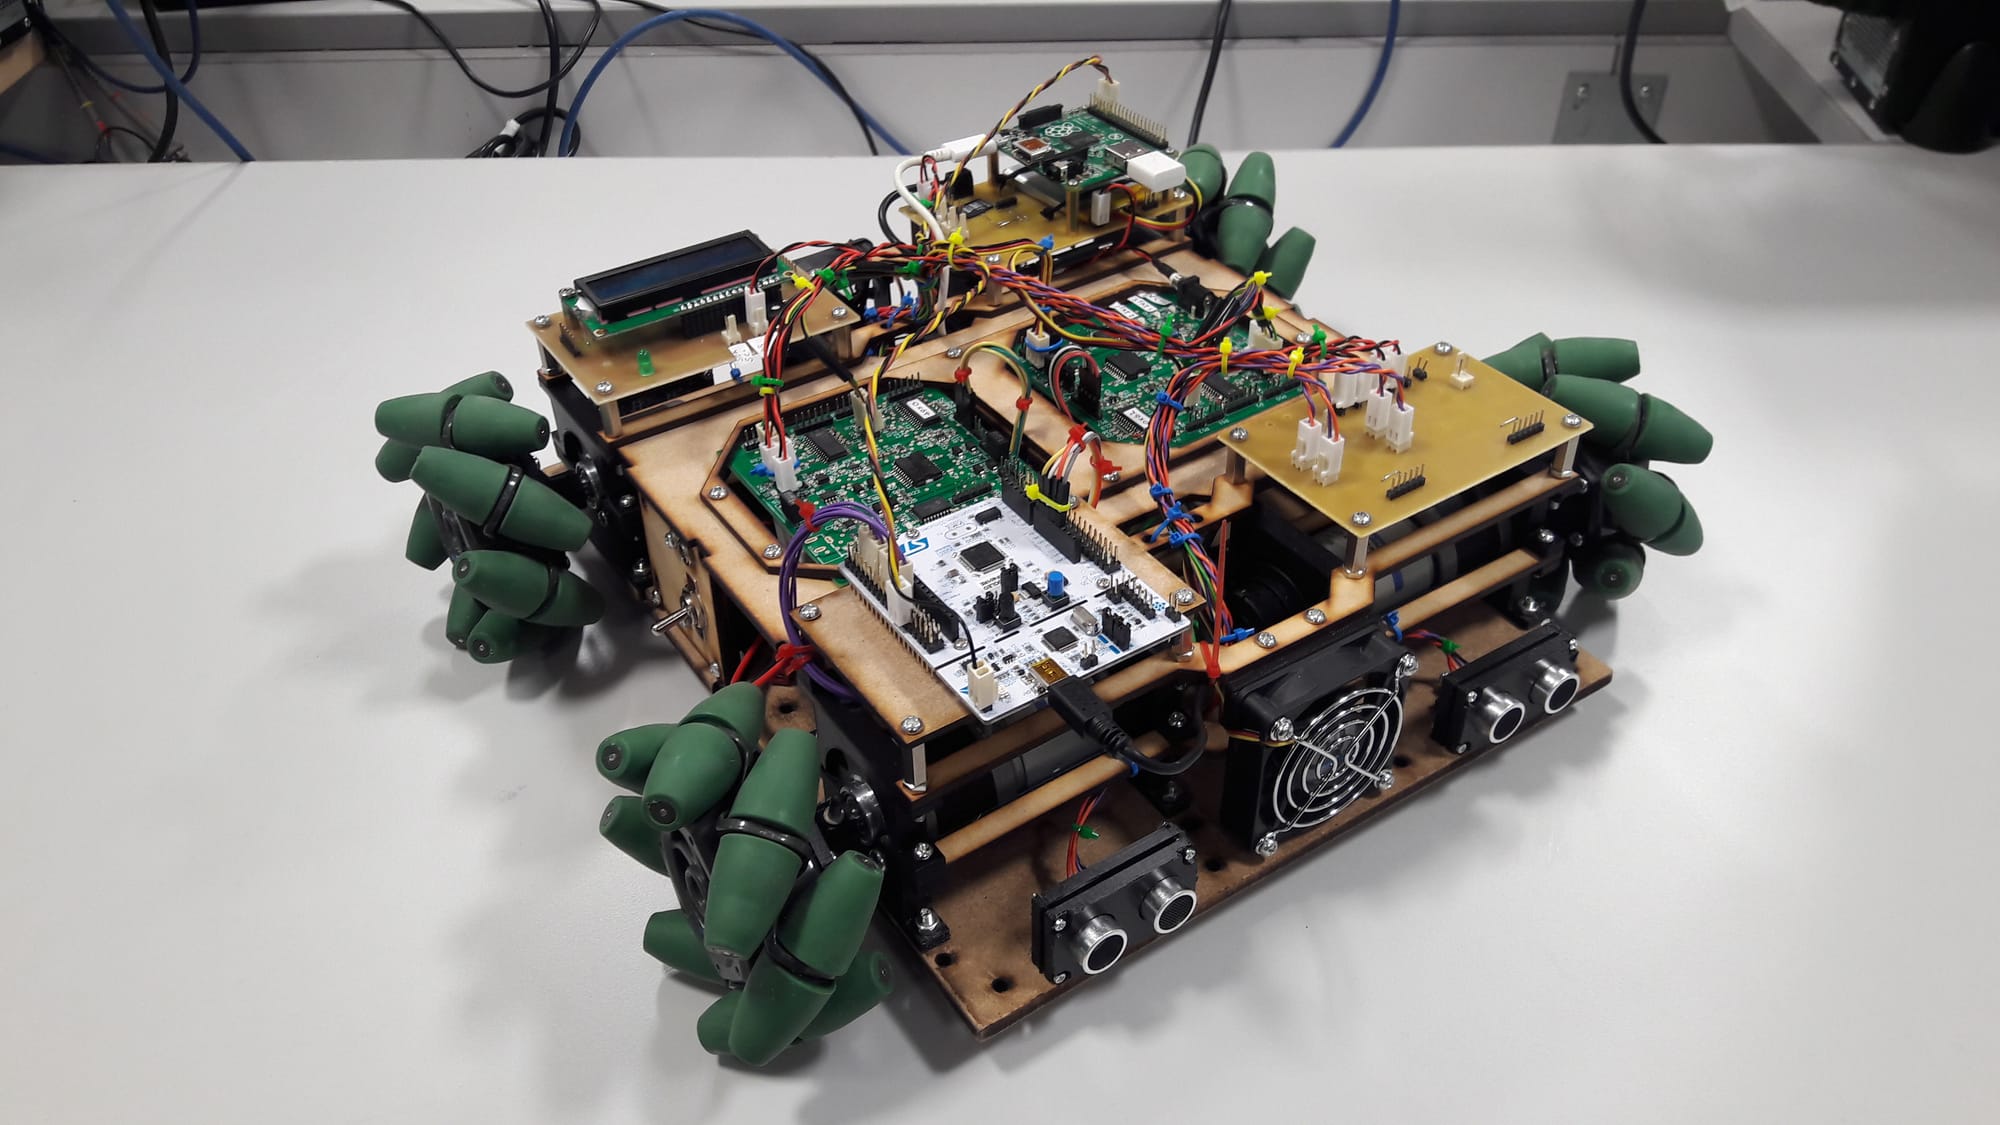
Most of the modules talk to each other over UART, with USB used in a few places. The controllers themselves were mostly PIC16F microcontrollers, with a few ATtiny chips for the simplest jobs, and a Raspberry Pi on board. Cheap, small chips were enough because each one only has a narrow job to do. The drive motors were Maxon motors with planetary gears, provided by the university, giving the robot a speed of about 0.5 m/s.
Working in parallel
Separating the jobs has another benefit: several engineers can work on the same robot at once, each on a different module, without worrying about breaking each other's work.
The system specification defines how modules interact: communication speed and type, how to alert other modules, and how those communications are scheduled. The master controller (green in the block diagram) schedules all of this and decides which modules need which information. Warnings, control signals and user inputs are all calculated and scheduled, then passed to the modules that need them.
The result is that modules only see what's relevant to them. The power system doesn't care that someone pressed a button to scroll through the LCD menu, and thanks to the master controller, it never finds out.
Mecanum wheels in action
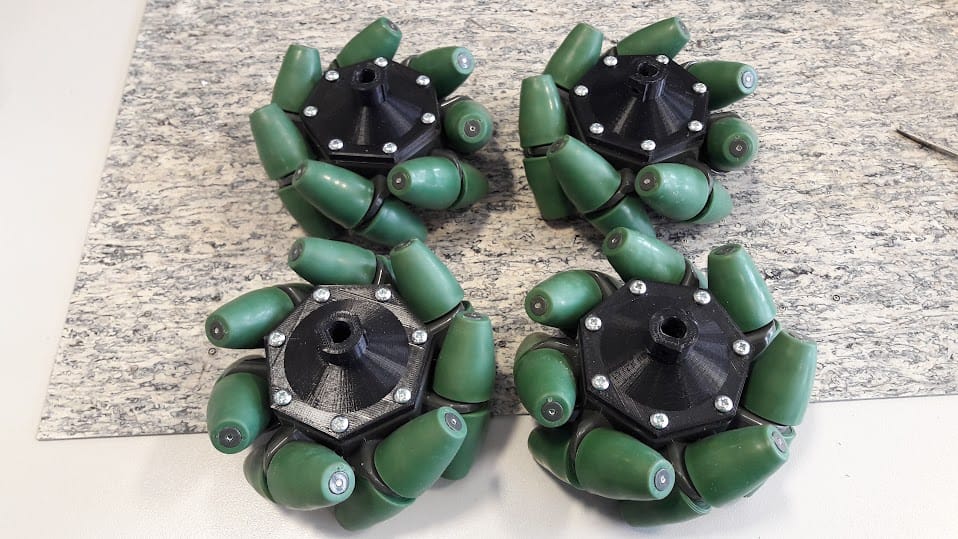
Mecanum wheels let the robot slide sideways and rotate on the spot, so it moves around tight environments easily. I'll cover the technical details in a later post.
What went wrong
It didn't all work first time. Three problems cost me the most time:
- Grounding. With several boards in one robot, getting them to share a ground reliably was harder than I expected, and it caused problems that were hard to trace. The fix was star-point grounding: every board's ground runs back to a single point on one board.
- Running the Pi headless. Getting the on-board Raspberry Pi to start up and work without a screen or keyboard attached took a lot of trial and error.
- PCB bugs. The first rounds of boards had plenty of mistakes. Fixing and re-spinning them was a big part of how I learned PCB design.
What I learned
The project started life as a software project, but it quickly became a heavy hardware one. Along the way I learned about mechanical design, PCB design and good electronic design practice. I'm sure that shift is a big part of why the robot won the Best Project award for 2017.
Thank you
I couldn't have built this without help from:
- Cubik Innovation, for help with electronic design and for providing PCBs
- VEX Robotics, for donating the wheels
- Altium Designer, for providing their electronic design software